Arduino Projects
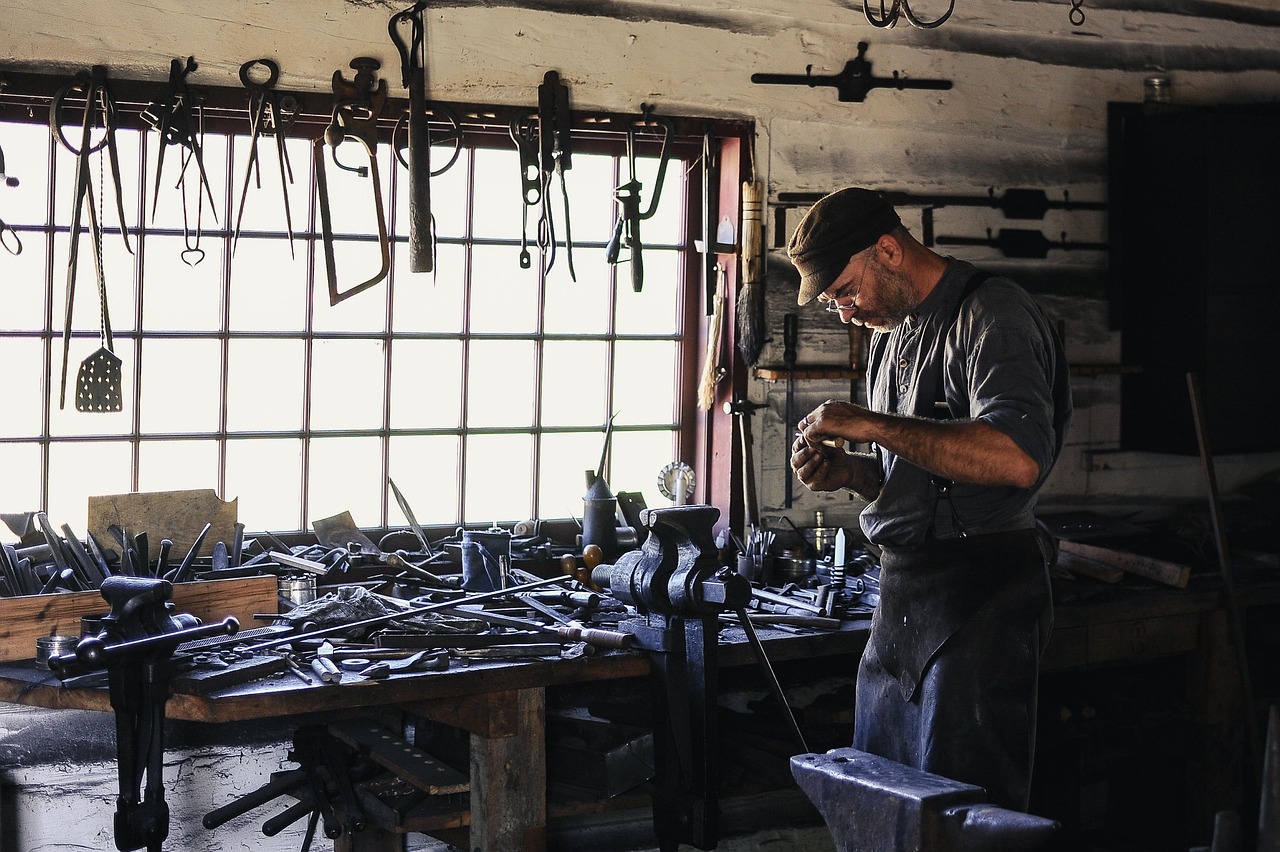
The biggest barrier to starting woodworking is not skill or tools. It's the lack of a decent place to work. Trying to cut a board on the floor or on a wobbly folding table is frustrating and slightly dangerous, and it makes every project harder than it needs to be. A simple sawhorse workbench solves this for very little money, and building it teaches you basic joinery along the way.
The design is straightforward. Two sawhorse-style trestles support a thick top made from a couple of pieces of construction lumber. The whole thing breaks down or stays assembled depending on how you attach the top. For materials, you'll need four 2x4s for the legs, two 2x4s for the cross braces, and either two 2x10s or a single sheet of 3/4-inch plywood ripped down for the top. Add a box of 3-inch exterior screws and some wood glue, and you're set.
Each trestle is made from two legs that splay outward, a horizontal crosspiece at the top, and a lower brace for stability. Start by cutting four legs to the same length, around 30 inches. Cut the top crosspiece about 36 inches long and the lower brace about 20 inches. The angles where the legs meet the crosspiece are what give the trestle its stability, and you can either cut them at an angle or simply butt them against the crosspiece and let the screws hold them. Butted joints are slightly weaker but perfectly adequate for a bench that isn't being abused.
Lay the crosspiece flat on your work surface. Position two legs against it, one near each end, splaying outward so the feet are wider apart than the top. Drive two screws through the crosspiece into each leg, and add a bead of glue at the joint. Flip the assembly over and repeat with the lower brace, positioning it about eight inches up from the feet. The brace keeps the legs from spreading when you put weight on top.
Repeat for the second trestle. Stand both up and check that they're the same height. If one is slightly taller, mark the difference on the bottom of the longer legs and trim it with a saw. A bench that rocks is worse than no bench at all, so take the extra minute to get this right.
Set the two trestles about four feet apart and lay your top boards across them. Screw the top down through the crosspieces, but don't glue it if you want the option to break the bench down for storage. Two screws per trestle per board is plenty. If you're using two separate boards for the top, leave a small gap between them so sawdust and small offcuts fall through instead of accumulating.
The finished bench is about 34 inches tall, which is a comfortable working height for most people when standing. If you're taller, add a couple of inches to the legs. If you're shorter, subtract. Height matters more than most beginners realize, because a bench that's too low makes you hunch over and a bench that's too high makes it hard to apply downward pressure with a hand saw.
You can add a few refinements once the basic bench is standing. A couple of holes drilled near one edge hold a vise or a set of bench dogs. A lower shelf made from a scrap of plywood gives you somewhere to set tools. A strip of wood screwed along the back edge creates a lip that stops boards from sliding off. None of these are necessary to start, but they're easy to add later as you figure out how you actually use the bench. Build the simple version first, use it for a few projects, and let the improvements suggest themselves.
