Electronics Basics
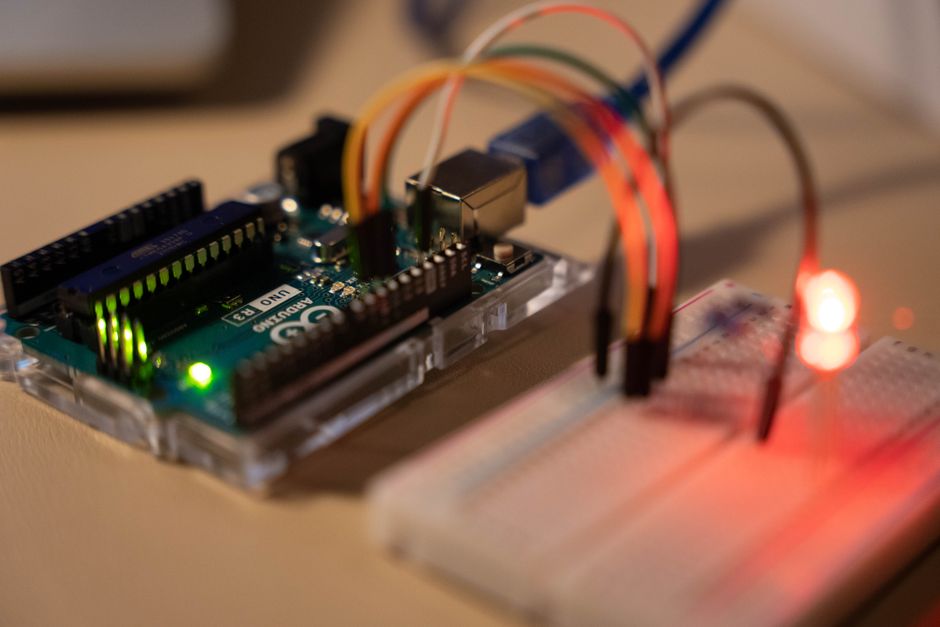
The classic first Arduino project is a blinking LED, and while it proves your board works, it doesn't teach much. A better first build is a nightlight that fades gently on and off and responds to a button. It uses the same beginner hardware but introduces variables, functions, and the idea of state, which is what real projects are made of.
You'll need an Arduino Uno or compatible board, a breadboard, a few jumper wires, an LED (any color), a 220-ohm resistor, a push button, a 10k-ohm resistor, and a USB cable. Everything here is reusable in future projects, so nothing goes to waste.
Place the LED on the breadboard with the long leg (anode) connected through the 220-ohm resistor to pin 9 on the Arduino. The short leg (cathode) goes to a ground rail. That resistor is not optional; without it, the LED will draw too much current and burn out, possibly damaging the pin.
For the button, connect one side to 5 volts and the other side to pin 2, with the 10k-ohm resistor pulling pin 2 down to ground. This is called a pull-down configuration. When the button is pressed, pin 2 reads high; when it's released, the resistor pulls it back to ground so the input isn't floating and giving random readings.
Double-check your wiring against a diagram before plugging in the USB cable. Most beginner frustration comes from a jumper in the wrong row, not from bad code.
Open the Arduino IDE and start with the basic structure: a setup function that runs once and a loop function that runs forever. In setup, tell the board that pin 9 is an output and pin 2 is an input.
In the loop, read the button state into a variable. If the button is pressed, fade the LED up to full brightness over about a second using a for loop and the analogWrite function. If it's not pressed, fade it back down. The analogWrite function takes a value from 0 to 255, which maps neatly to off through full brightness.
Add a small delay between each brightness step, maybe 5 to 10 milliseconds, so the fade looks smooth rather than jumpy. Once that works, try changing the fade duration or making the LED pulse continuously without the button. Each small change teaches you something about how the code and the hardware interact.
If nothing happens, check the serial monitor and add a few print statements to see what the button is actually reading. Debugging by observation is a skill you'll use constantly.
When the nightlight works on the breadboard, you can move it to a soldered prototype board or a small enclosure. That transition, from messy breadboard to finished object, is where the real satisfaction lives. From here, swapping the LED for an RGB one or adding a light sensor to turn it on automatically at dusk are natural next steps.
