Electronics Basics
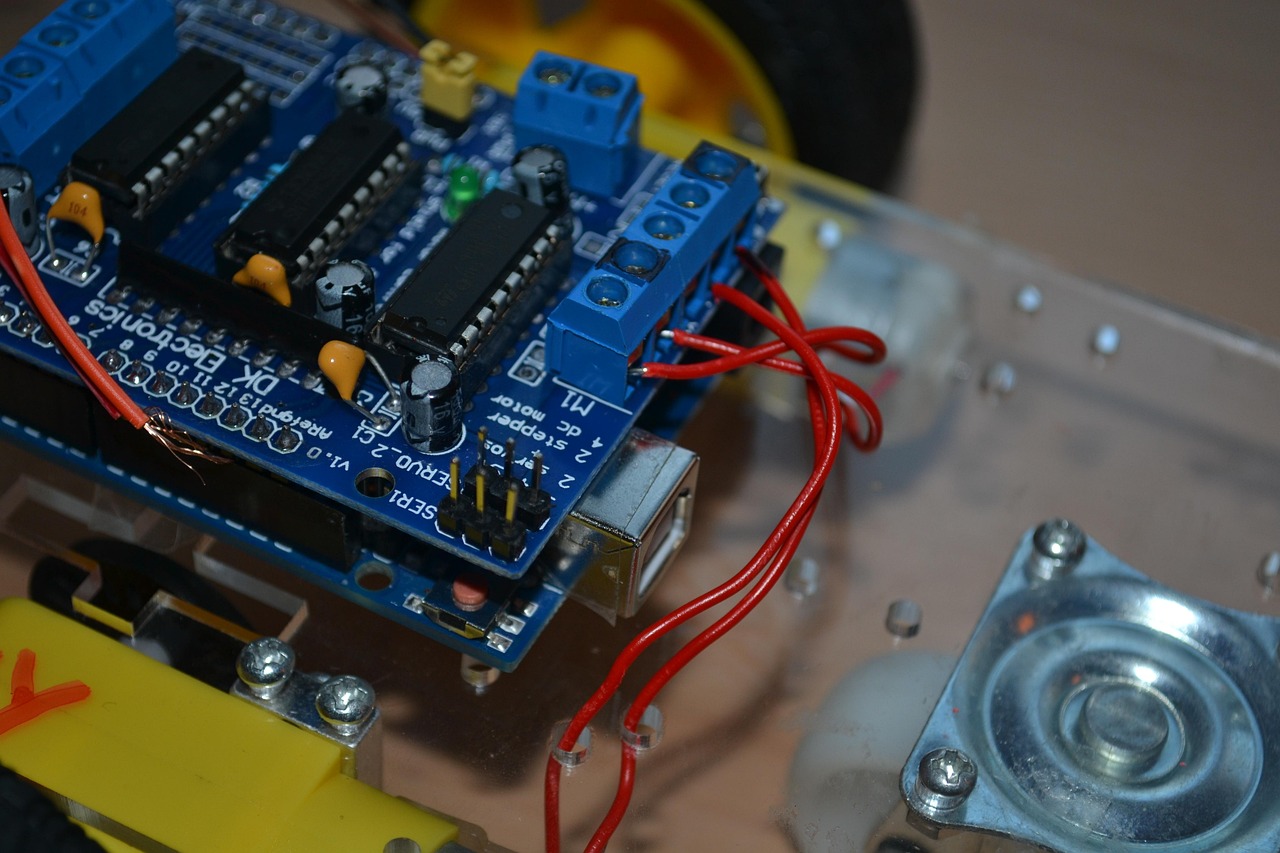
Once you've blinked an LED and understand how to write a basic sketch, the natural next step is to make something that reacts to the world around it. A motion-sensing closet light is perfect for that, because it's genuinely useful, it uses a sensor that behaves in predictable ways, and the finished project solves a real annoyance. No more fumbling for a pull chain in the dark.
You'll need an Arduino Uno or Nano, a PIR motion sensor module, a small strip of addressable LEDs or a few regular white LEDs with resistors, a breadboard, jumper wires, and a 5V power supply. The PIR sensor is the star of the show. It detects changes in infrared radiation, which is a fancy way of saying it notices when something warm moves across its field of view. It has three pins: power, ground, and signal. When it sees motion, the signal pin goes high.
Connect the PIR sensor's VCC pin to the Arduino's 5V pin, GND to ground, and the signal pin to a digital input such as pin 2. For the lights, connect your LED strip's data pin to a digital output like pin 9, or if you're using individual LEDs, wire each one through a 220-ohm resistor to a digital pin. Keep the wiring tidy and double-check the sensor's orientation before powering up, because PIR modules are not reverse-polarity friendly.
When you first power a PIR sensor, it needs time to calibrate. Most modules have a warm-up period of thirty to sixty seconds during which they ignore motion or fire randomly. This is normal. Give it a minute before you judge whether it's working. Many modules also have two small potentiometers on the board, one for sensitivity and one for how long the output stays high after motion is detected. Turn the time potentiometer to its minimum at first so you can see the light respond quickly while testing.
The sketch itself is short. Read the sensor pin in your loop, and if it reads high, turn the lights on and start a timer. If it reads low and the timer has run out, turn the lights off. A simple way to do this is to record the last time motion was seen using the millis function, and compare the current time to that value. If the difference is greater than your timeout, shut off the lights. This avoids using delay, which would freeze the whole program and make the sensor feel sluggish.
For the closet installation, the sensor needs a clear line of sight to the doorway. Mount it near the top of the door frame, angled slightly down and into the room. The LEDs can go anywhere that throws useful light, but they should be on a separate wire from the sensor so you can position each one where it works best.
Power is the part people underestimate. A USB phone charger works fine for testing but running a cable into a closet is awkward. A small 5V wall adapter with a long cable, or a battery pack tucked on a shelf, both work. If you go the battery route, remember that the PIR sensor draws a small amount of current continuously, so expect to recharge or replace batteries every few weeks. A wall adapter is the better long-term answer.
Once it's running, you'll find yourself walking into the closet just to watch it work. That feeling doesn't go away quickly, and it's a good sign you're ready for a project with more sensors and more decisions to make.
